Setting Up Java Development Environment: A Step-by-Step Guide
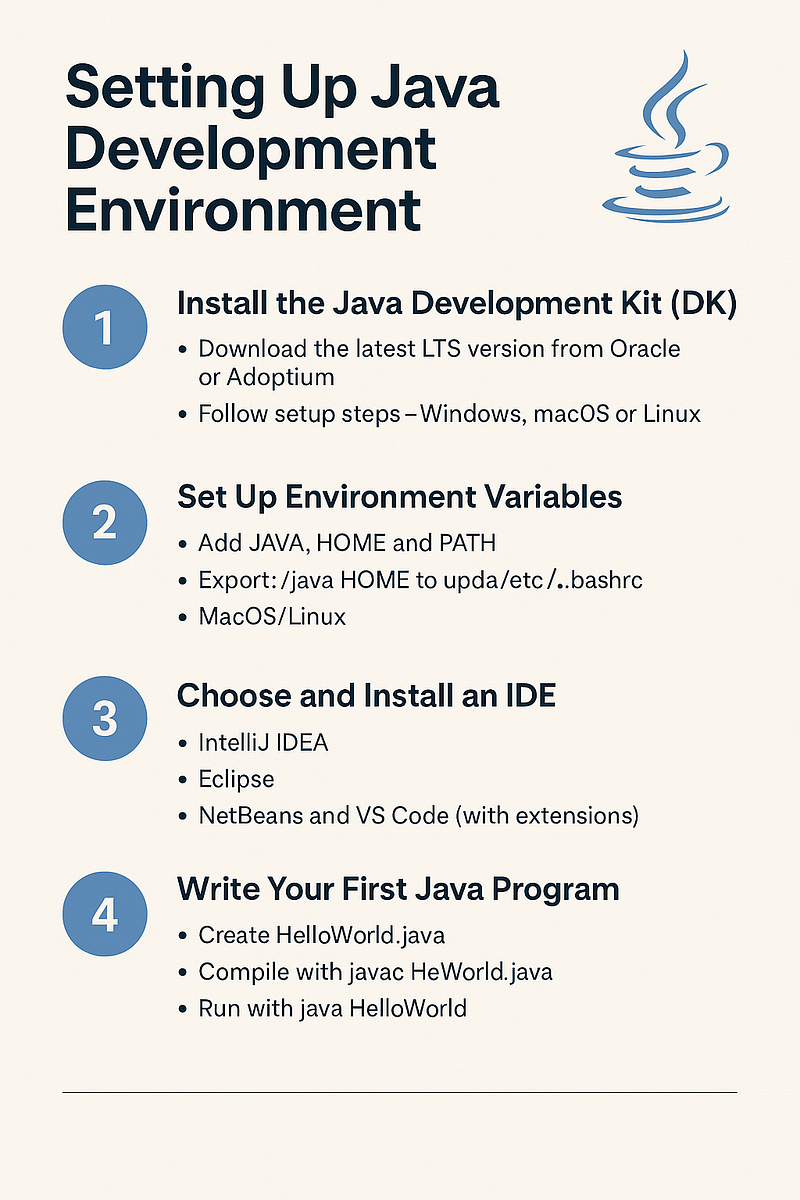
diagram Setting Up Java Development Environment
Setting Up Java Development Environment: A Step-by-Step Guide
Introduction
Whether you're a beginner starting your coding journey or a professional setting up a new machine, having a properly configured Java development environment is essential for writing, compiling, and running Java programs. In this guide, we’ll walk you through the tools and steps required to get your Java environment up and running smoothly.
What You Need to Set Up Java Development
To start Java programming, you’ll need the following:
Java Development Kit (JDK)
Text editor or Integrated Development Environment (IDE)
Command-line access or terminal
(Optional) Build tools like Maven or Gradle
1. Install the Java Development Kit (JDK)
Step 1: Download the JDK
Visit the official Oracle JDK website or use an open-source version like Adoptium.
Download the appropriate version for your OS (Windows, macOS, or Linux).
Step 2: Install the JDK
Run the installer and follow the prompts.
For Linux, use your package manager:
sudo apt update
sudo apt install openjdk-17-jdk
Step 3: Set JAVA_HOME and PATH
After installation, set the environment variables:
Windows:
Go to System Properties > Environment Variables.
Add a new
JAVA_HOMEvariable pointing to the JDK path.Add
%JAVA_HOME%\binto the system PATH.
macOS/Linux:
Add to ~/.bashrc, ~/.zshrc, or ~/.bash_profile:
export JAVA_HOME=/path/to/your/jdk
export PATH=$JAVA_HOME/bin:$PATH
2. Verify the Java Installation
Open your terminal or command prompt and run:
java -version
javac -version
If everything is correctly installed, you'll see the installed version of Java and the compiler.
3. Choose and Install a Java IDE
While you can use a text editor like VS Code or Sublime Text, a full-featured IDE improves productivity.
Recommended IDEs:
IntelliJ IDEA (Community or Ultimate)
Eclipse IDE
NetBeans
VS Code (with Java extensions)
Installing IntelliJ IDEA:
Download from JetBrains.
Follow the installer instructions.
Create a new Java project and configure the JDK path if prompted.
4. Optional Tools to Boost Development
Maven or Gradle (Build Tools)
Used for project management and dependency handling.
Install Maven:
sudo apt install maven
Install Gradle:
sdk install gradle # with SDKMAN
Git Version Control
Install Git to manage your project versions.
Install Git:
sudo apt install git
Terminal / Shell Tools
Use Terminal (macOS/Linux) or PowerShell/WSL (Windows) for compiling and running Java from the command line.
5. First Java Program (Test Your Setup)
Create a file named HelloWorld.java:
public class HelloWorld {
    public static void main(String[] args) {
        System.out.println("Hello, Java!");
    }
}
Compile:
javac HelloWorld.java
Run:
java HelloWorld
If you see Hello, Java! in the output, your environment is ready!
Conclusion
Setting up your Java development environment is the first step toward becoming a Java developer. With the JDK, a powerful IDE, and optional tools like Maven and Git, you're equipped to start building robust applications. Whether you're learning Java for the first time or refreshing your setup, these steps ensure a solid foundation.
Table of content
- Introduction to Java
- Java Basics
- Object-Oriented Programming (OOP) in Java
- Exception Handling in Java
- Java Collections Framework
- File Handling in Java
- Multithreading in Java
- Networking in Java
- Java Database Connectivity (JDBC)
- Java Frameworks and Technologies
- Java Interview Preparation
- Additional Java Resources